
We’ve been in the print industry since the 1980’s, and wow have times changed. Not too long ago when printing booklets, we had to fold then collate each page and then hand-staple books together. Luckily, we now offer fully automated long or short run booklets.
What does this mean for you? Well, jobs that used to take us a few business days now take just a few hours. We output finished books, annual reports, photo books, catalogs, calendars, newsletters, programs and more with a few clicks of the mouse. We can even designate certain pages to be color and others to be black ink, saving on cost.
Tips & Tricks for Booklet Printing
Here are a few handy things to keep in mind for the design and printing of booklets.
Design
Color vs. Black
Full color is an overwhelming marketing advantage over black. Multiple studies show the power of color, and that is no less significant with booklets. Your piece is 80% more attractive simply by being in color. That said, there’s one simple way to manipulate this statistic to your advantage if you’re on a budget. Print the cover in full color and the guts (inside pages) black and white. And if printing the front cover in color, you may as well print the other pages of that spread- back cover, inside front, and inside back- color as well.
Stay within the Lines
We love to talk about this pesky design term called bleed. We don’t print to the edge of the paper – pages are printed larger and then cut to finished size. For that reason, there are two “zones” to keep in mind: the bleed and the safety zone. If color or images go all the way to the edge, they actually have to go at least .125″ PAST the edge so that we can cut down and avoid awkward white borders. If your software isn’t able to define the bleed zone, simply create your document .25″ wider and taller. For example, an 8.5 x 11 sheet with bleeds is sized 8.75 x 11.25.
The safety zone works in the opposite way – it’s the “safe” space for your important images and copy. Allow .125″ inside the cut line for this zone. That same 8.5 x 11 paper should have all its content safely within an 8.25 x 10.75 border. The extra wiggle room ensures that nothing important will be cut off in the finishing.
Page Spreads – Multiples of 4
Folded booklets run in page increments of 4, no matter the size. So think in multiples of 4: 8, 12, 16, 20, 24, 28, up to 32 are all common. If a booklet is only 30 pages, for example, we would need to designate two blanks to get to our magical divisible number 4.
Finishing
Cover & Stock Options
Like we mentioned, one option is to print the cover in color and the rest in black. Some opt to print that cover on a heavier stock than the inside pages. Print lingo calls this a plus cover.
A self-cover means that all the pages print on the same stock. While we’re talking about paper stock, we should mention that it’s not that much more expensive for a MUCH nicer paper. Consider 60# or 80# text weight instead of a flimsy 20#. It feels nicer, and also holds up better over time.
Fold Options
Our copier has two finishing capabilities for folded booklets – either a square or a standard v fold. Square adds an edge and booklets will lie flat. Standard is just one fold so the pages arch slightly unless they’re pressed down. There is no cost difference between the two.
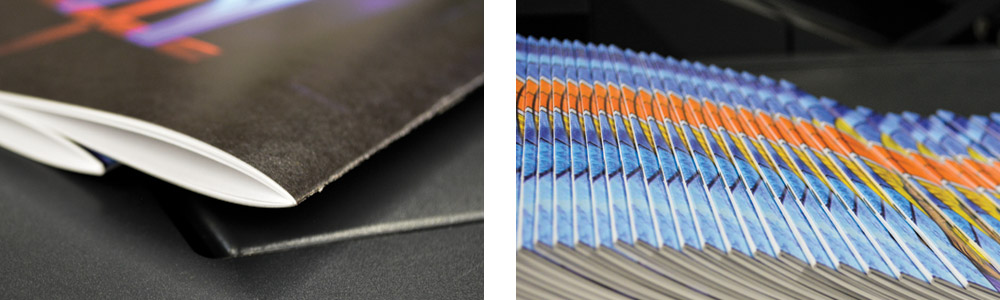
Binding Options
Saddle-stitch is just a fancy term for staples. Perfect bind is just a fancy term for glue. Spiral bind is coil binding, often plastic, good for booklets that either need to be flipped easily or laid flat (cookbooks). Wire loop is similar to spiral but a higher quality metal binding. If using spiral or wire binding, disregard the “multiples of 4” rule.

In Conclusion
Hope this helps! Get in touch for all your print, promo, and design needs.